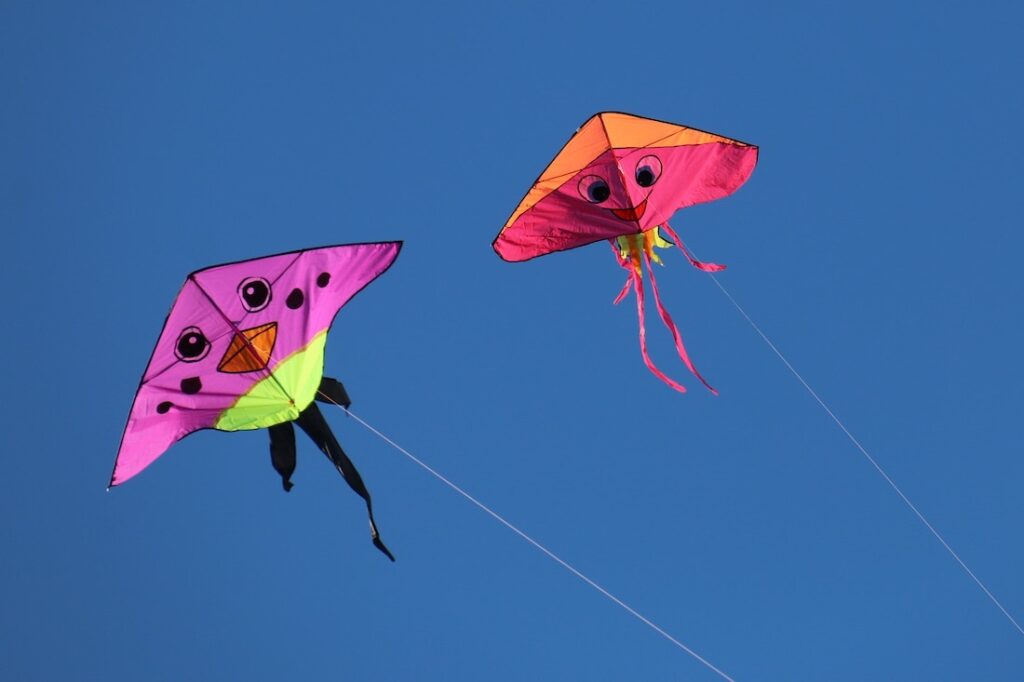
When it’s too cold, rainy, or not nearly windy enough to fly your kite outside, why not make one to use indoors? With the power of magnets, you can fly a kite anywhere in the world right in your living room.
What you need:
- Magnet
- Construction paper
- White paper
- Coloring utensils
- String
- Paper clips
- Tape
What you do:
First, we’ll make the magnetic kite. Cut a diamond out of the construction paper that is big enough to fit two paper clips on the back of. Decorate the kite as necessary! Then, when the kite is as beautiful as can be, tape two paper clips on the back, and tape on an inch or two of string for the kite tail at the bottom.
Second, we’ll make our background on the white paper.. Where do you want to fly your kite today? The park? The zoo? An alien planet? All sound great to us! Once, the children have created their ideal kite flying scene with the coloring utensils, the fun begins!
Place the kite onto the background, paper clip side down. Place a magnet underneath the background and voila! The kite now flies around the scene as you move the magnet behind.
Questions to consider:
- Why does the kite move around the paper as you move the magnet?
- Would the kite fly without the paper clips on the back? Why or why not?
- What types of objects are attracted to magnets?
Why it works:
By taping paper clips to the back of the kite, you have now made a magnetic kite! Without the paper clips, the kite would not fly because paper and string are not magnetic. Most metals are attracted to magnets (not all!), so paper clips, commonly made of steel, are no exception.
By moving the magnet behind the paper with the paper clip kite on top, the steel paper clips are attracted to the magnet. The paper clips follow the magnet wherever it goes, like baby ducks with their mommy! If you remove the magnet, the kite will right off of the paper.


